Debrick TP-Link Archer C7
TP-Link Archer line has a very cool recovery trick that makes it quite safe to do firmware flashing (not so much for bootloader flashing), here I’ll guide you how to recover your Archer from bad flashing or when you just want to go back to stock firmware from OpenWRT.
Requirements:
- Ethernet cable
- TP-Link Archer C7 router (I’m not sure if this will also work for other models)
- A computer with an Ethernet port
- The router is in “soft-bricked” state (the main u-boot bootloader hasn’t got ruined yet)
1. How it’s work
This TP-Link router uses 2 separate u-boot, factory-uboot for initializing hardware, download recovery firmware from TFTP (when needed) and the secondary bootloader (u-boot) is for starting the Linux Kernel.
Here’s the MTD partitions on my device:
5 cmdlinepart partitions found on MTD device spi0.0
Creating 5 MTD partitions on "spi0.0":
0x000000000000-0x000000020000 : "factory-uboot"
0x000000020000-0x000000040000 : "u-boot"
0x000000040000-0x000000f00000 : "firmware"
2 uimage-fw partitions found on MTD device firmware
0x000000040000-0x0000001e0000 : "kernel"
0x0000001e0000-0x000000f00000 : "rootfs"
mtd: device 4 (rootfs) set to be root filesystem
1 squashfs-split partitions found on MTD device rootfs
0x000000420000-0x000000f00000 : "rootfs_data"
0x000000f00000-0x000000ff0000 : "config"
0x000000ff0000-0x000001000000 : "art"
Its boot sequence is factory-uboot -> u-boot -> firmware (kernel)
When you update your firmware, only the u-boot and the firmware get updated, if one of those 2 gets corrupted then it will not boot normally thus you can’t access the web panel for firmware upgrade like normal.
Fortunately, TP-Link has configured their factory-uboot so it can detect if you want to enter the firmware flashing mode directly and bypassing the rest, this makes recovery very easy without having to disassemble the device and use UART or JTAG to recover, we can trigger it with just the RESET button on the back side of the router.
2. Preparing firmware and TFTP
You’ll need to download the stock firmware from the official TP-Link website, make sure to get the latest one unless you know what you’re doing.
You could even flash the custom firmware like OpenWRT directly and bypass the whole stock-firmware things, just download the one with “factory” in its name.
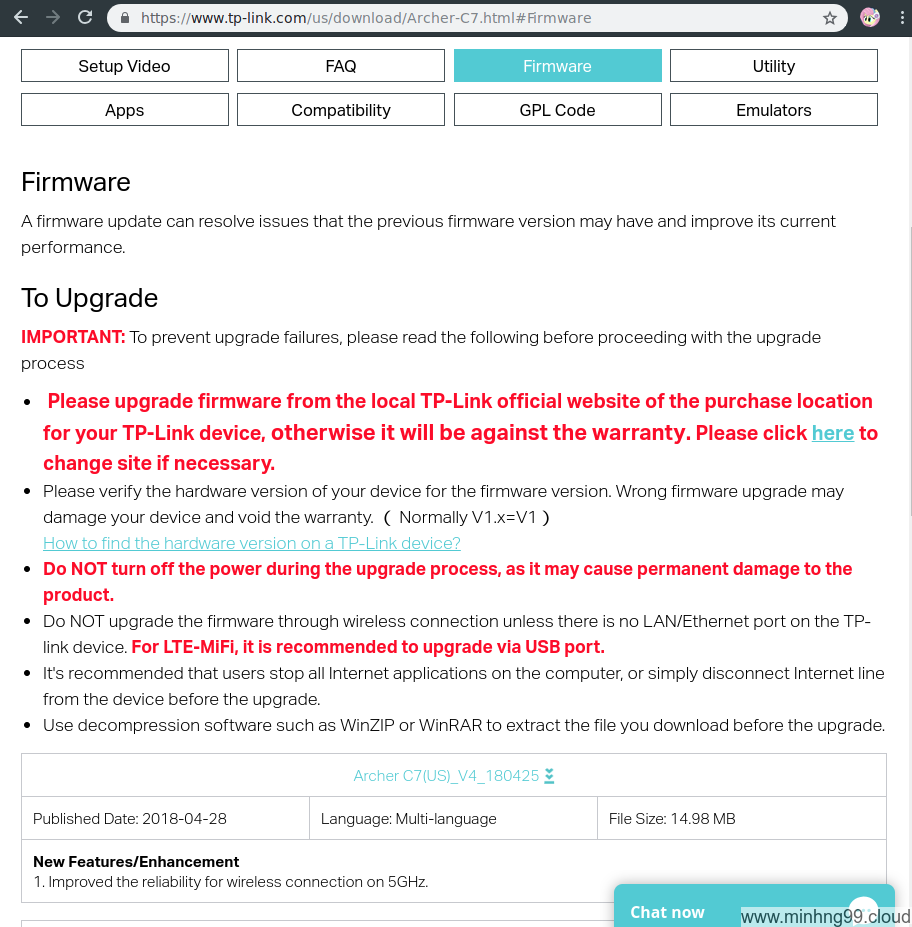
Here I’m getting the Archer C7(US)_V4_180425, make sure you’ve chosen the right firmware for your device, careful with the hardware version if your device has it.
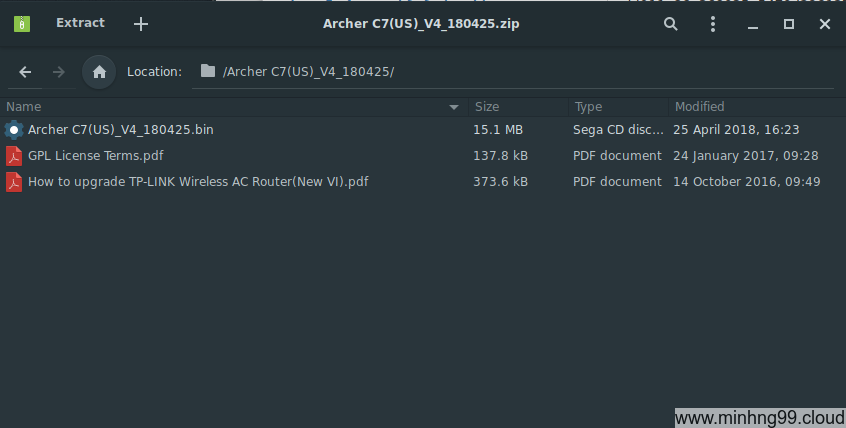
The downloaded file is in ZIP format, you’ll need to extract it and get the .bin file, that’s what we need.
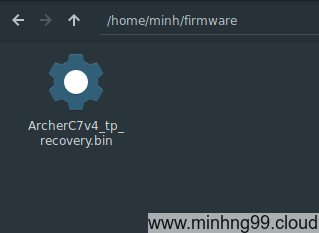
Create a new folder somewhere and put the .bin firmware file in it, rename it to ArcherC7v4_tp_recovery.bin, if your router is another model like C9 or different hardware version then just change the name accordingly, here I put mine into “/home/minh/firmware/.

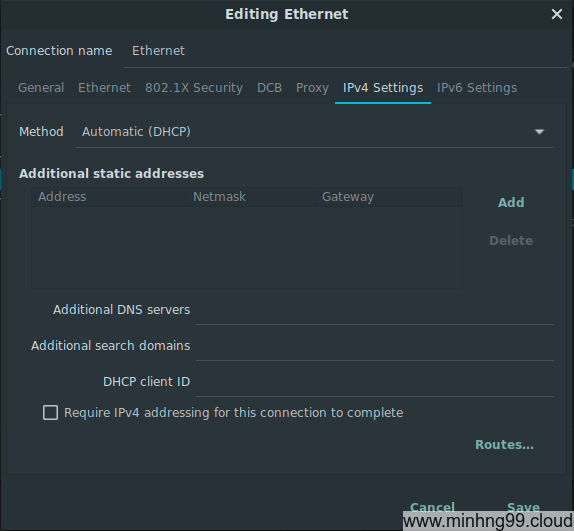
Now you have to set your Ethernet IP address to static and specify this IP:
Address: 192.168.0.66 Netmask: 255.255.255.0
You can skip the rest if you want, it’s not that important.
Some OS need to restart the network interface to apply the new IP, just disable and then enable it again or don’t plug anything into the Ethernet port yet.

Now you need a TFTP server, here I’m using atftpd for it, you’ll need to find a suitable TFTP server for your OS.
Remember: It has to be TFTP, regular FTP will NOT work.
If you’re using atftp like me, you could use this command to run it.
sudo atftpd --daemon --user=root --group=root --no-fork --logfile - /home/minh/firmware
I know that you should not run untrusted apps as root but you only need to keep this thing run until the recovery has finished so it’s not much of a problem.
3. Recovery mode and flashing firmware
Now power off your router with the switch on its back, unplug every Ethernet cables, plug only 1 Ethernet cable into port #1 and then into your computer (where the TFTP server lies)
Find a pin or a toothpick or something that’s small enough to fit into a hole which has the RESET button, find the RESET button on its back and try to push it with your object, if you feel it’s clicking then it’s the right hole.
Push and hold the RESET button, power on the router using the back switch and wait until the WPS LED turn on (the LED which have 2 arrows in a circle), now it should be only the POWER LED and the WPS LED turning on, the rest will not light up.

On your TFTP server, you will see something like this which means the router is currently downloading the firmware from your PC and it will flash it automatically, just wait about 5 minutes and the router will reboot itself automatically.
Now when the router has rebooted (other LEDs lights up), you could shut down the TFTP server and switch your Ethernet config to DHCP again.
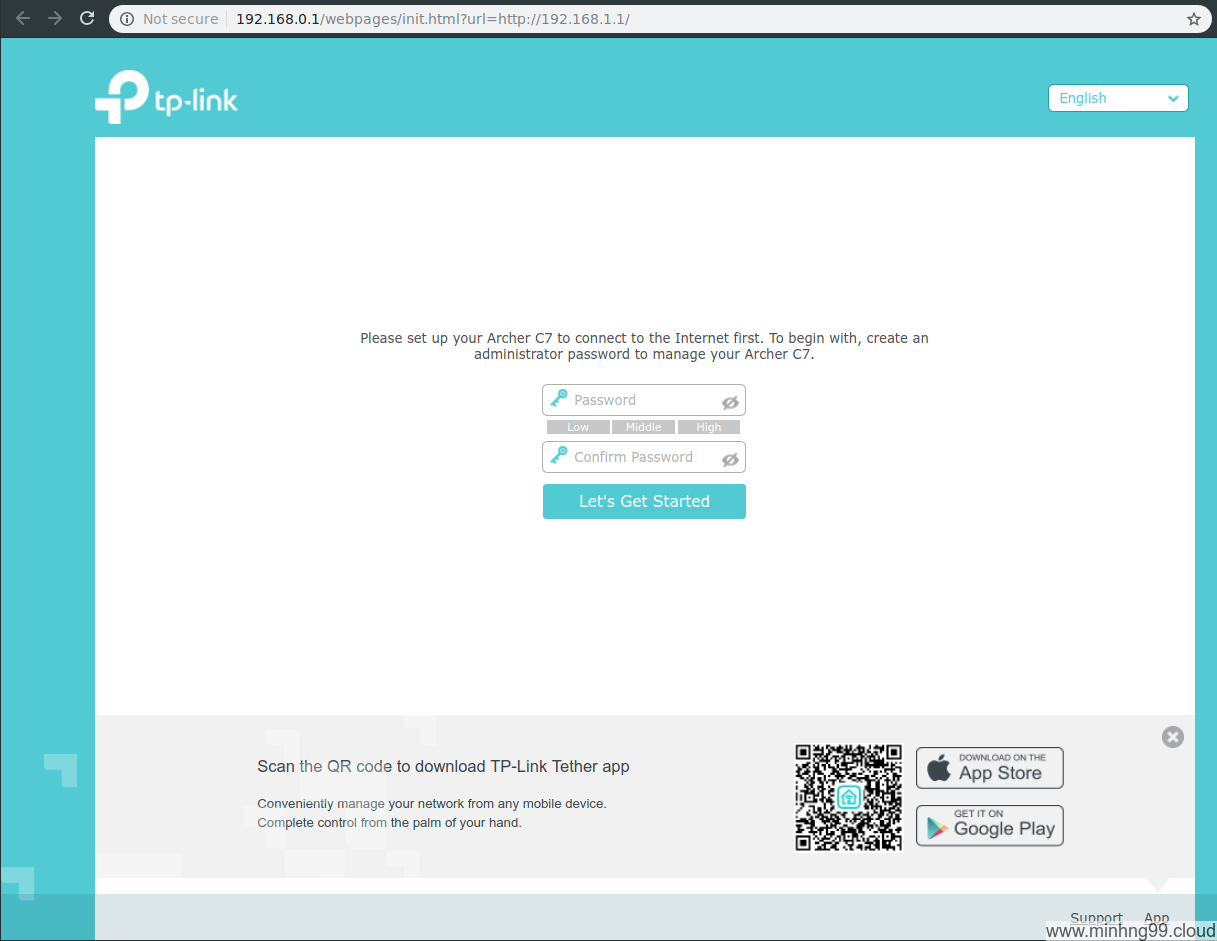
Open your browser, navigate to http://192.168.0.1/ and you should be greeted with the password update page, that means your router has flashed firmware successfully and now it will work as normal.